Archives > 3D Modeling & Animation > Blade Runner
Blade Runner
Maya | 2011
During one of my modeling classes at Towson University, I embarked on creating my first character in Maya. I referred to him as "Blade Runner," drawing inspiration from the cyberpunk and cyborg aesthetics. This character featured prosthetic legs inspired by the designs of Oscar Pistorius, a former athlete who gained attention for his running prosthetics then two years after this project... his murder conviction.
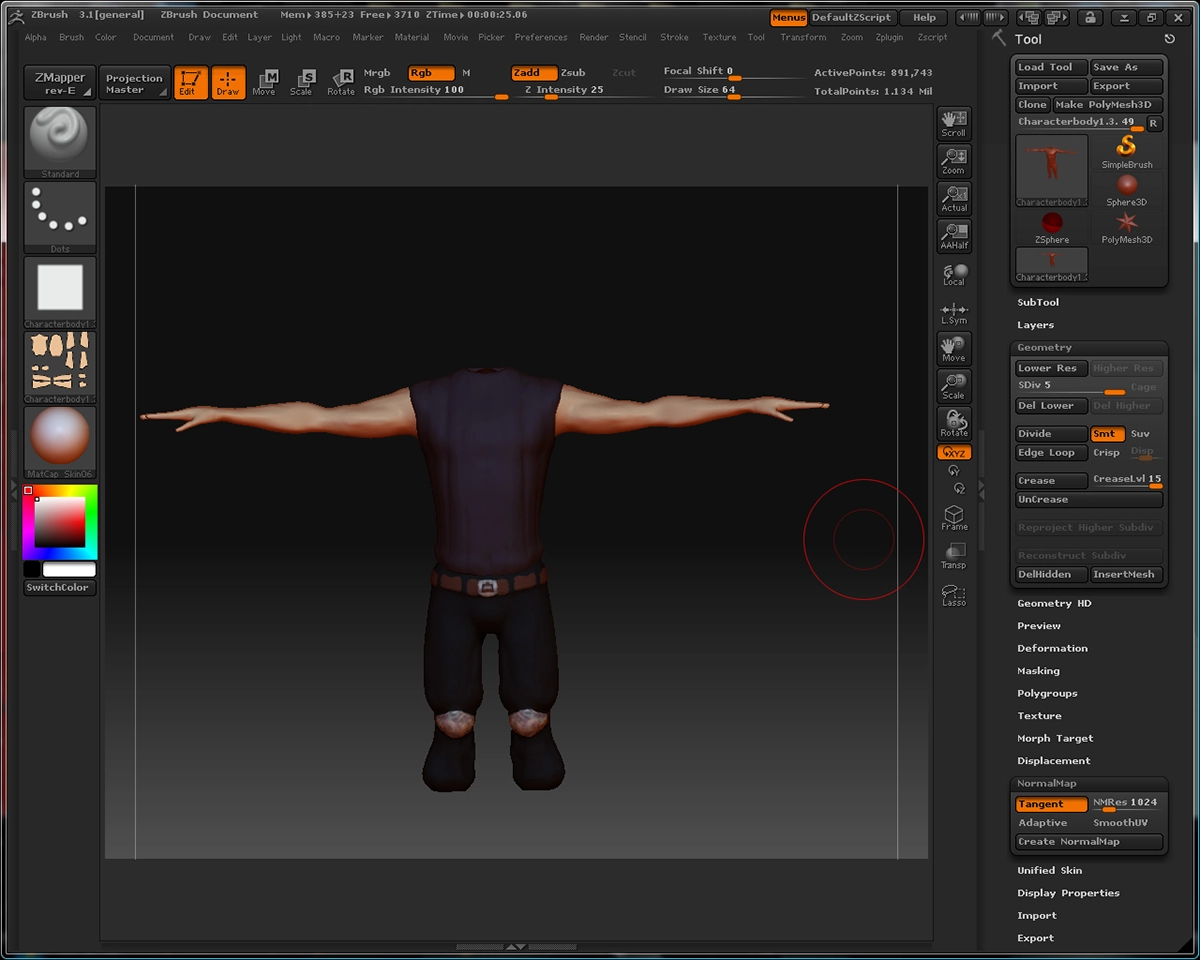
What appealed to me about this character concept was the opportunity to combine organic and hard surface modeling within a single project. I utilized Maya for the majority of the modeling process but wanted to leverage my previous experience with Zbrush. I attempted to import and export the character between Maya and Zbrush to achieve a lower polygon count while preserving the detailed normal map generated in Zbrush. However, I encountered challenges with this workflow, partly due to time constraints from other classes and difficulties encountered when transitioning between my home PC and the Mac computers at school. My own professor at the time didn't have any experience with Zbrush so I was flying in the dark at this point.
Nonetheless, this project was a valuable learning experience that significantly boosted my confidence in character creation. It allowed me to explore the intricacies of building 3D characters, integrating organic and mechanical elements, and expanding my skill set in the realm of 3D modeling. I feel this also, might have been the first character I designed that was an original creation and not a copy from someone else.
Low polygon character model
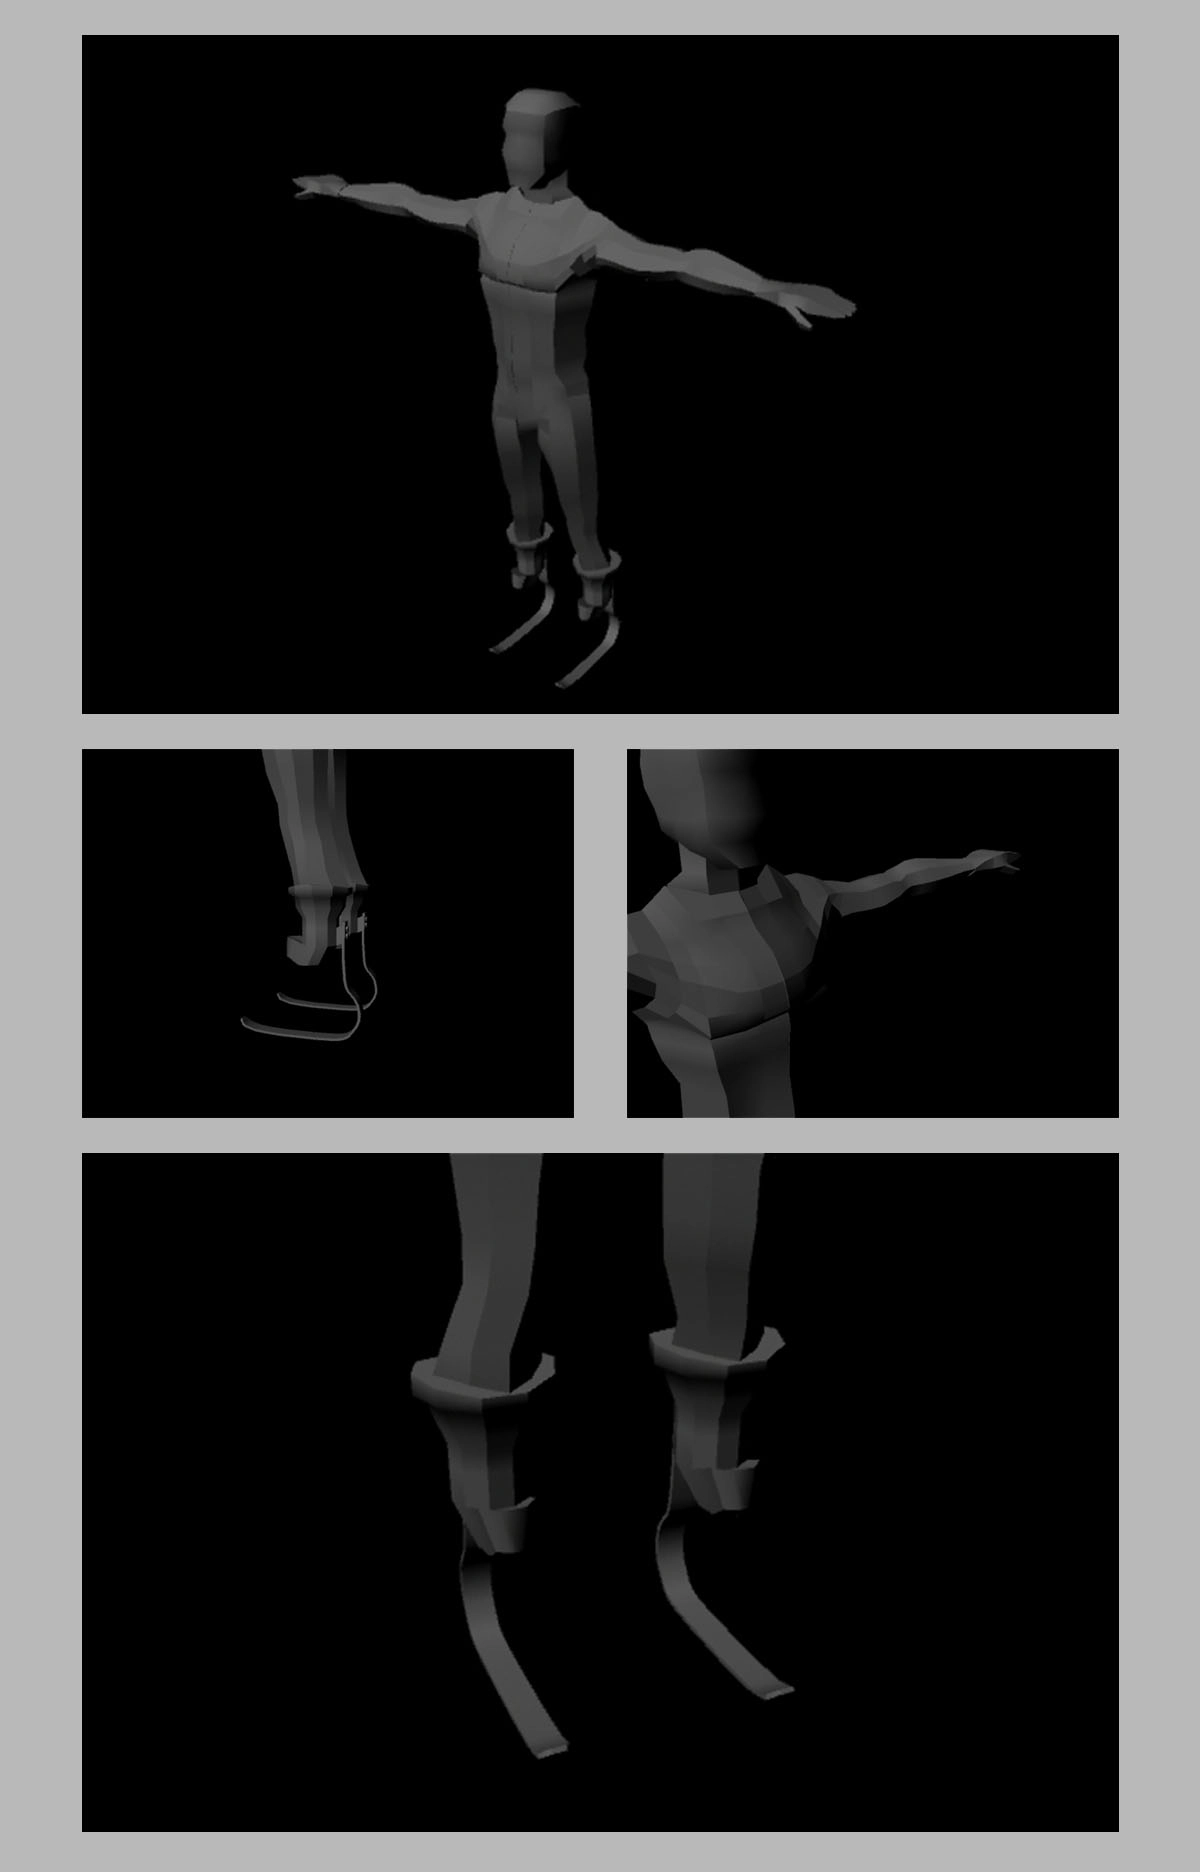
Higher polygon count.
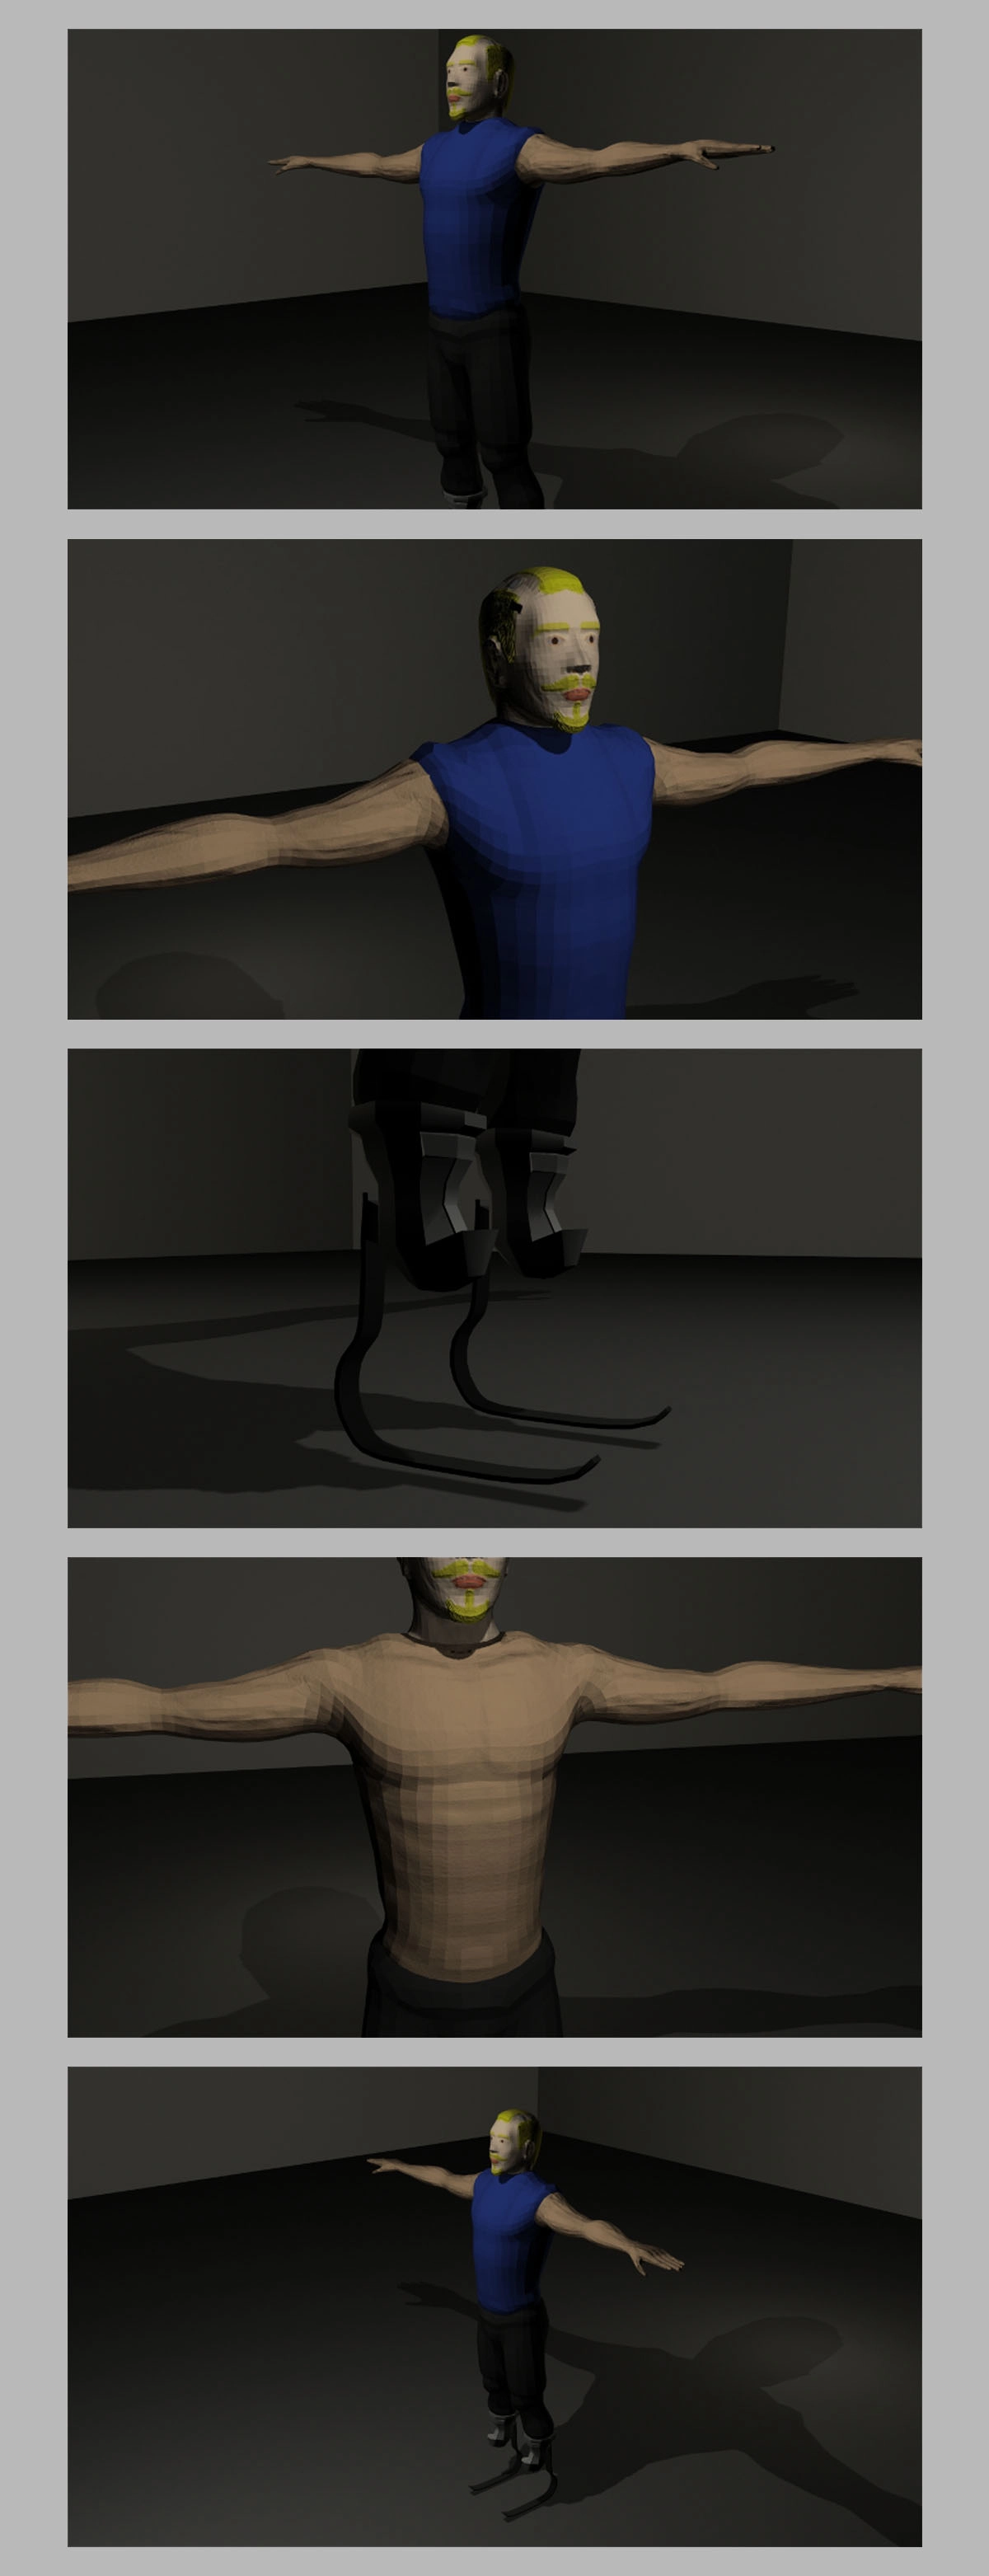
Zbrush character model with clothes.
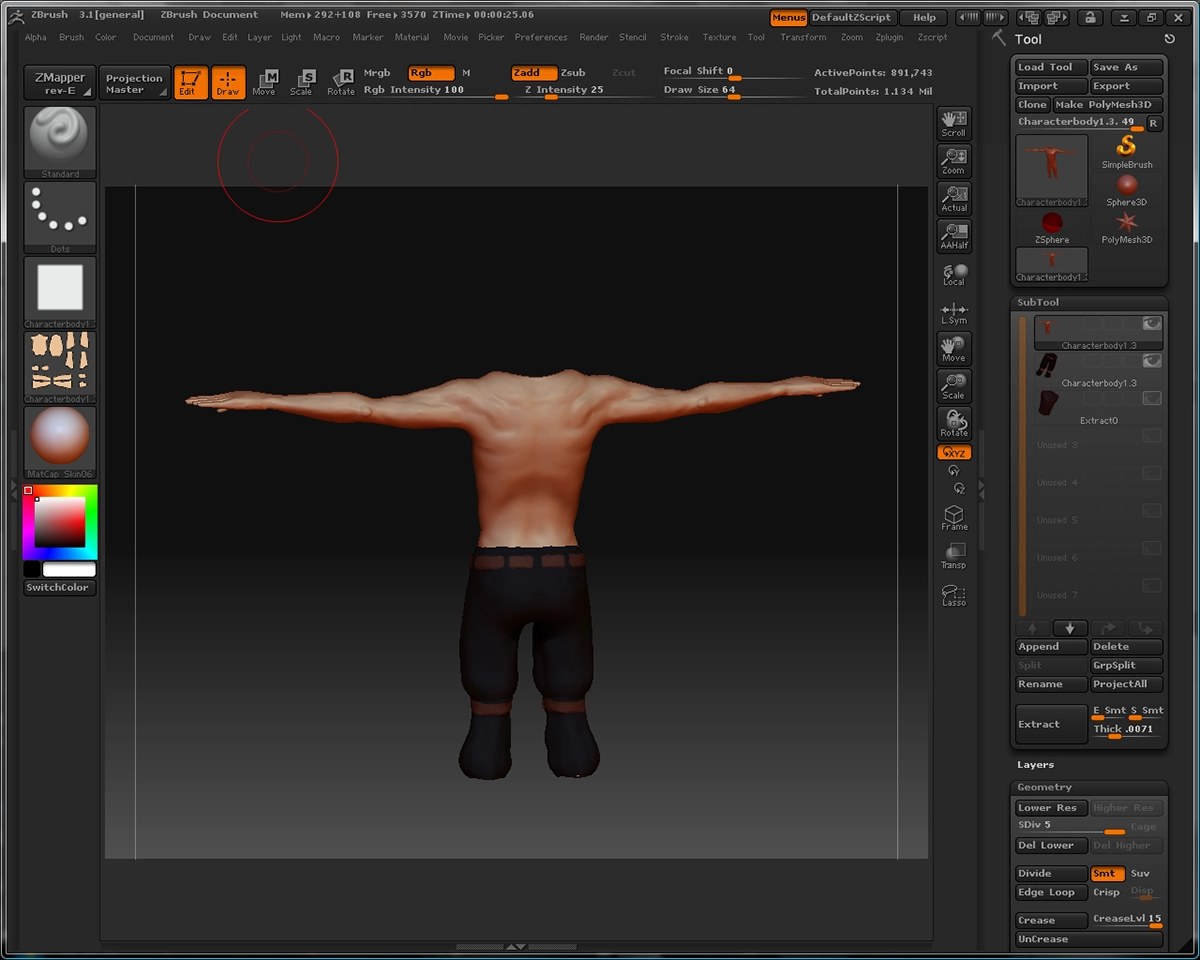
Zbrush character model back.
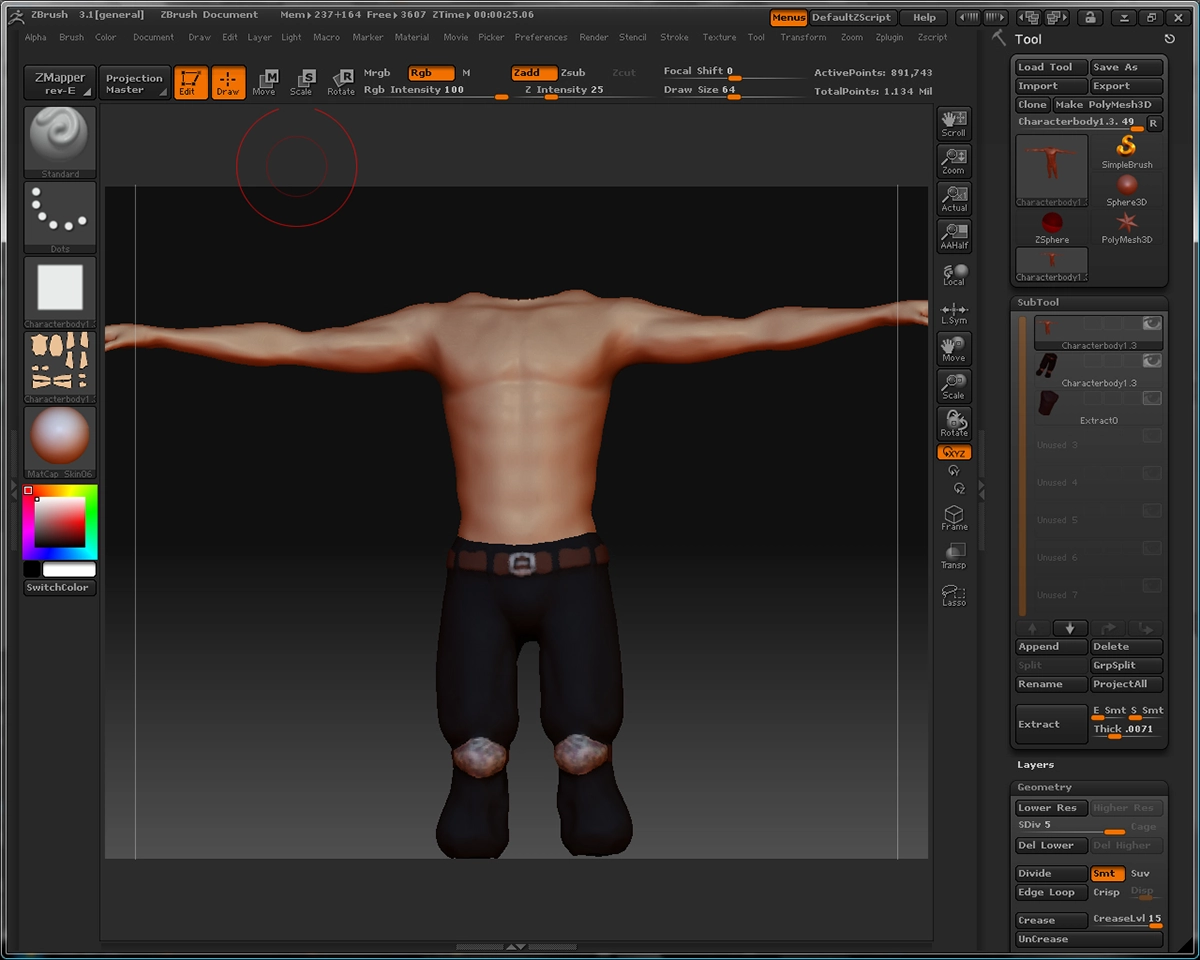
Zbrush character model front.
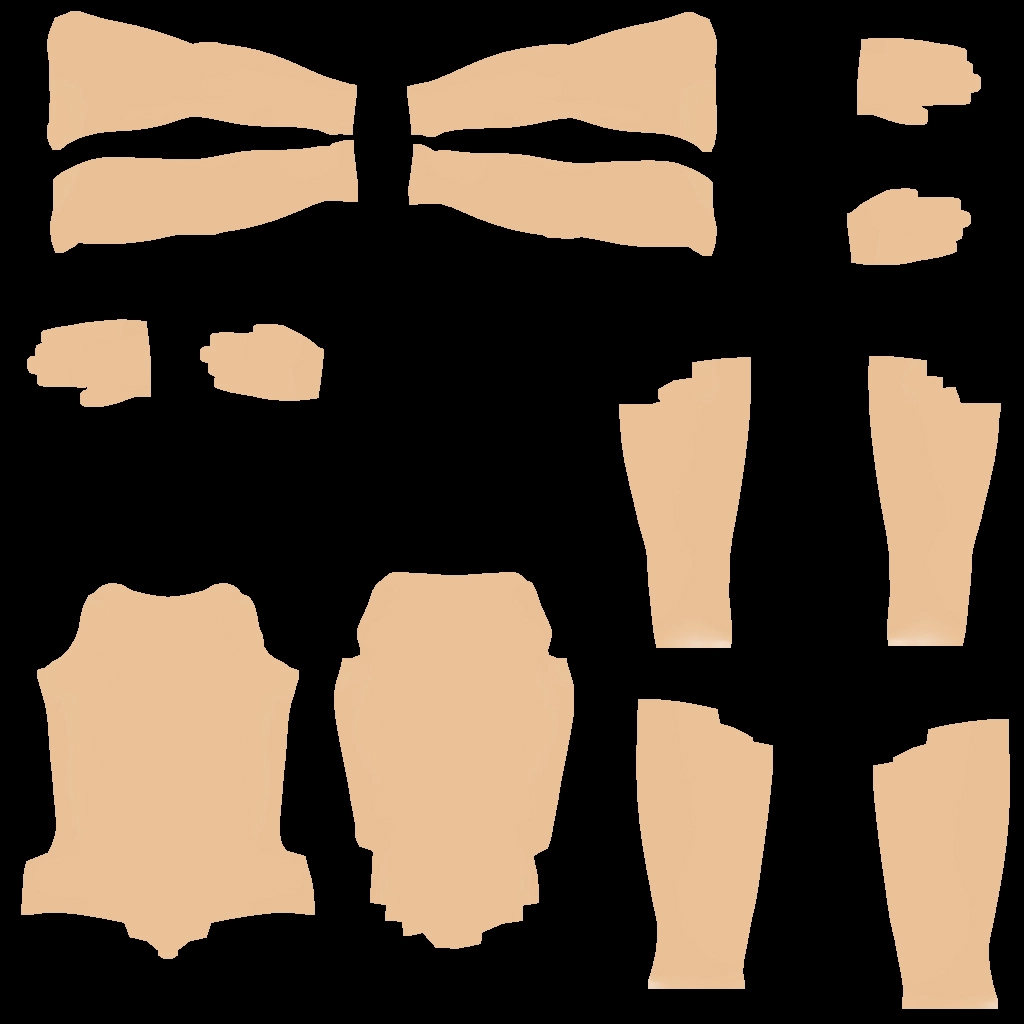
Basic skin texture diffuse map.
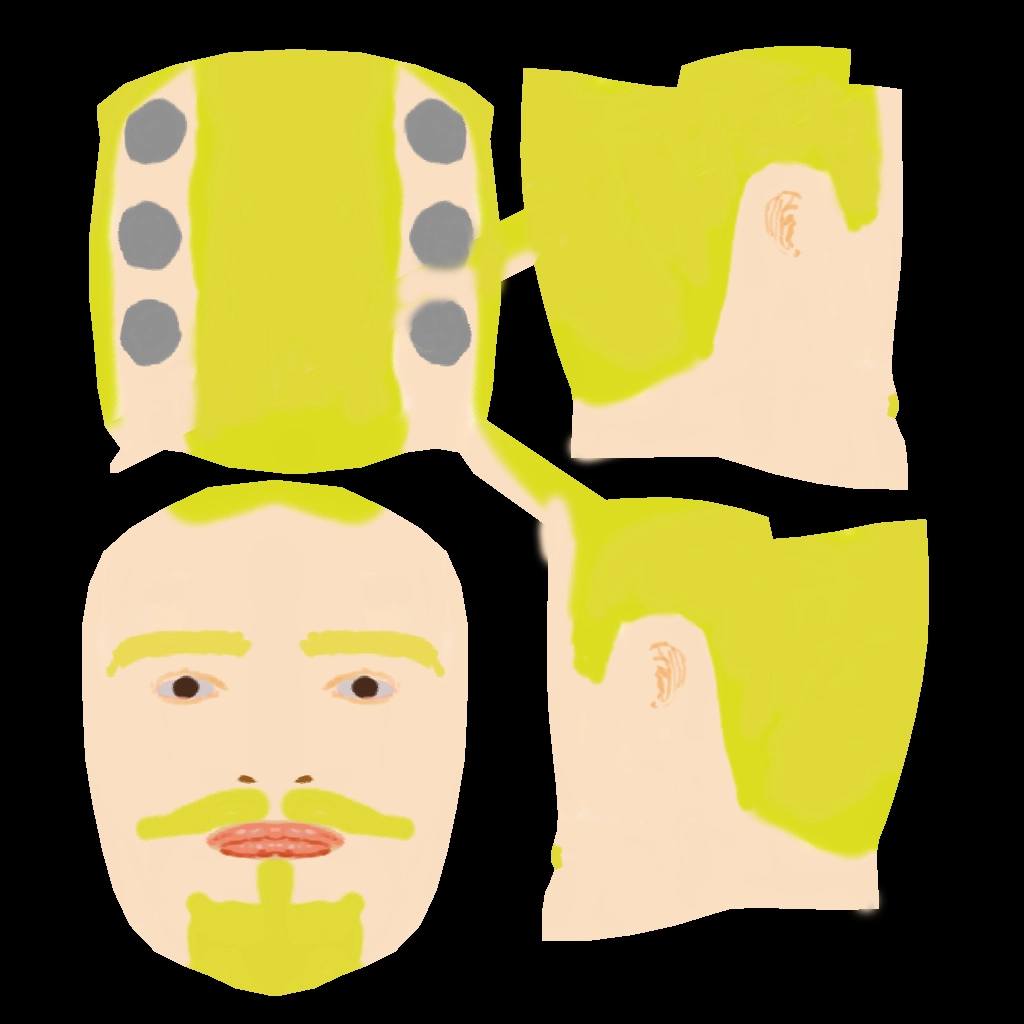
Basic face texture diffuse map.
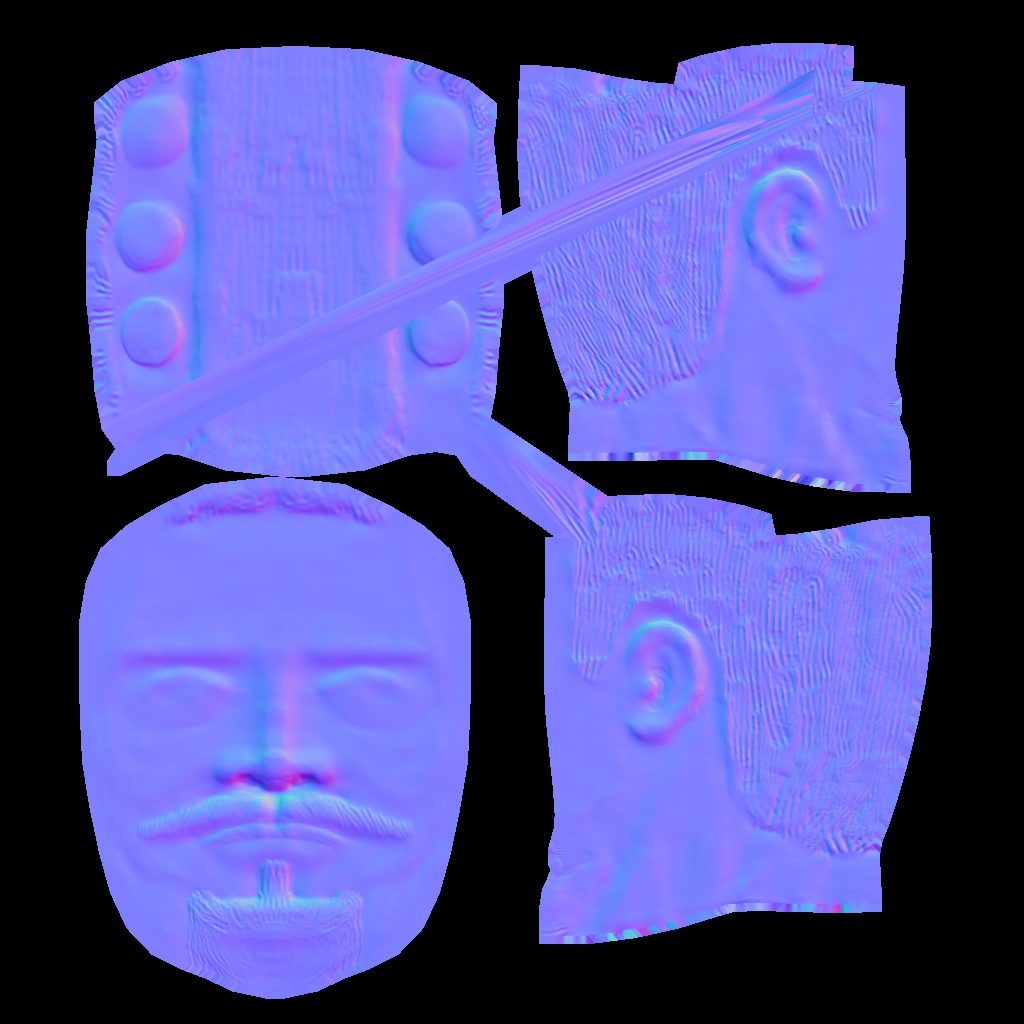
Normal Map.